I love Mondays! Seriously :) Both my husband and I have the day off so it's wonderful, and it's the start of a new week... you had a bad week last week, no problem, start new!!! Love Mondays!
So since both the hubs and I come from really large families we obviously have a passion for our families! You can tell if you spend any amount of time with us that we are super close to all of our parents and we have really fun relationships with our siblings! And Aunties, uncles and cousins are basically more parents and siblings! We are so close, it's amazing! Sure we have those wonderful moments at EVER family gathering where someone gets pissed or pisses someone off but hey! what is family without some good ol' drama :)
So today's DIY is all about the good fam-dam-ly. I'm dubbing this "The Family Tree" post. Here's how it goes.
You wanna get a cheap picture frame (I got mine from Michaels on sale 60% off... used it at my wedding and then turned it into a chalk board) and get some chalk board paint, NOTE: spray paint is some serious business folks... I look like I tried to rip off those alarm things they hook on clothes, that have ink in them, and failed. I would highly recommend going the actual paint route with this one. Take the glass out of the frame and get it somewhere you don't mind getting a little messy. Get some fine grain sand paper and scratch the surface of the glass. You'll have a better outcome if the paint can actually adhere to the surface :) After you have it scratched up and freaking out, wipe it down with a dry cloth to remove excess dust and dirt. Begin painting, do at least 2 coats and let dry for 24 hours. Don't be impatient and try it after 4 or 8 wait the 24 or else you get to do it allll over again. Here's how mine turned out:


Next you're going to start "assebeling" your family tree. Find a wall, mine is the first one you see walking in, and sketch it out in your head. Then erase that sketch and just start stickering and hanging pictures... trust me, it turns out better that way. Oh also in the middle of it, try to win a new car and go grocery shopping, talk to your dad and mom online and eat dinner with anyone, then go back and continue. I love breaking away from a craft half way through... sometimes I think we get so focused that we loose focus of having fun and plus 2 ideas are better than 1 so why not make yourself forget your idea and then come back with a new one. It's great fun. Annnnyways, continue. Since pictures are worth 1,000 words I will let them talk now.

This is the starting wall. I laid everything out and pictured it in my head.

I learned this trick where you measure the distance between the two nail holes with duct tape and then stick it to the wall. That way you don't have 50 holes in the wall by the time you get them lined far enough apart and level. Crazayy.


Here is what my finished picture frame chalk board looks like... btw that is not a free hand drawing, yeah, right.


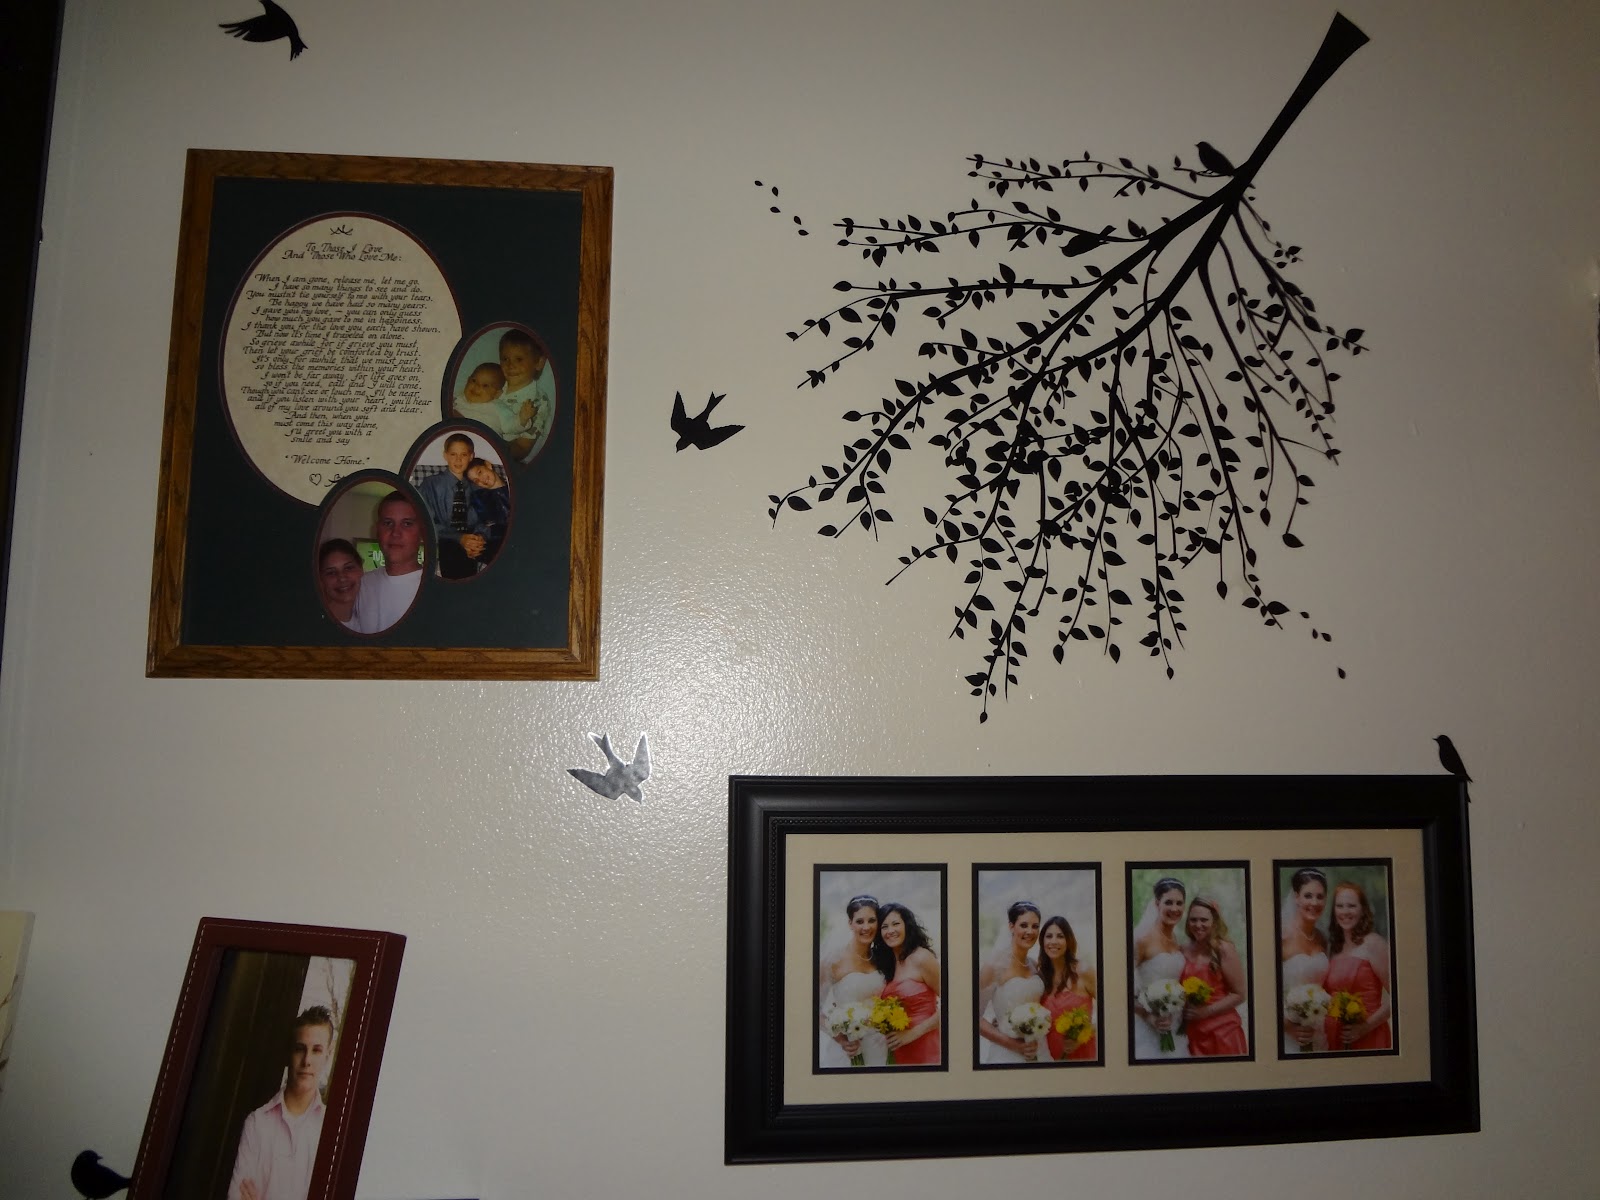
So here's the deal, those branch looking stickers are actually "trees" for like ants or something. For some reason in my head, 2' tree was more like a 6' tree, I don't know... but anyways I was a little confused when I pulled them out of the package. So I made them into "branches" BUT if you look carefully in the top left side there is a bird that is upside down... do you see him... ok yeah, that's our secret!
This is our new "Family Tree" wall and I am so happy that it is up! Cheers family! I hope to see your face on it one day! Oh and of course to add a couple more of our own little family member faces to it.

Happy Monday
No comments:
Post a Comment